if you can imagine it, we can create it
joshua franke . 0408 476 733
if you can imagine it, we can create it
joshua franke . 0408 476 733
Hi I’m Joshua Franke and I’ve been building stone houses, stone walls and stone features for over 20 years. Many people take a great interest in Basalt Stone walls, so we thought we’d put together some information to assist those considering taking on a project to DIY a Basalt stone wall themselves.
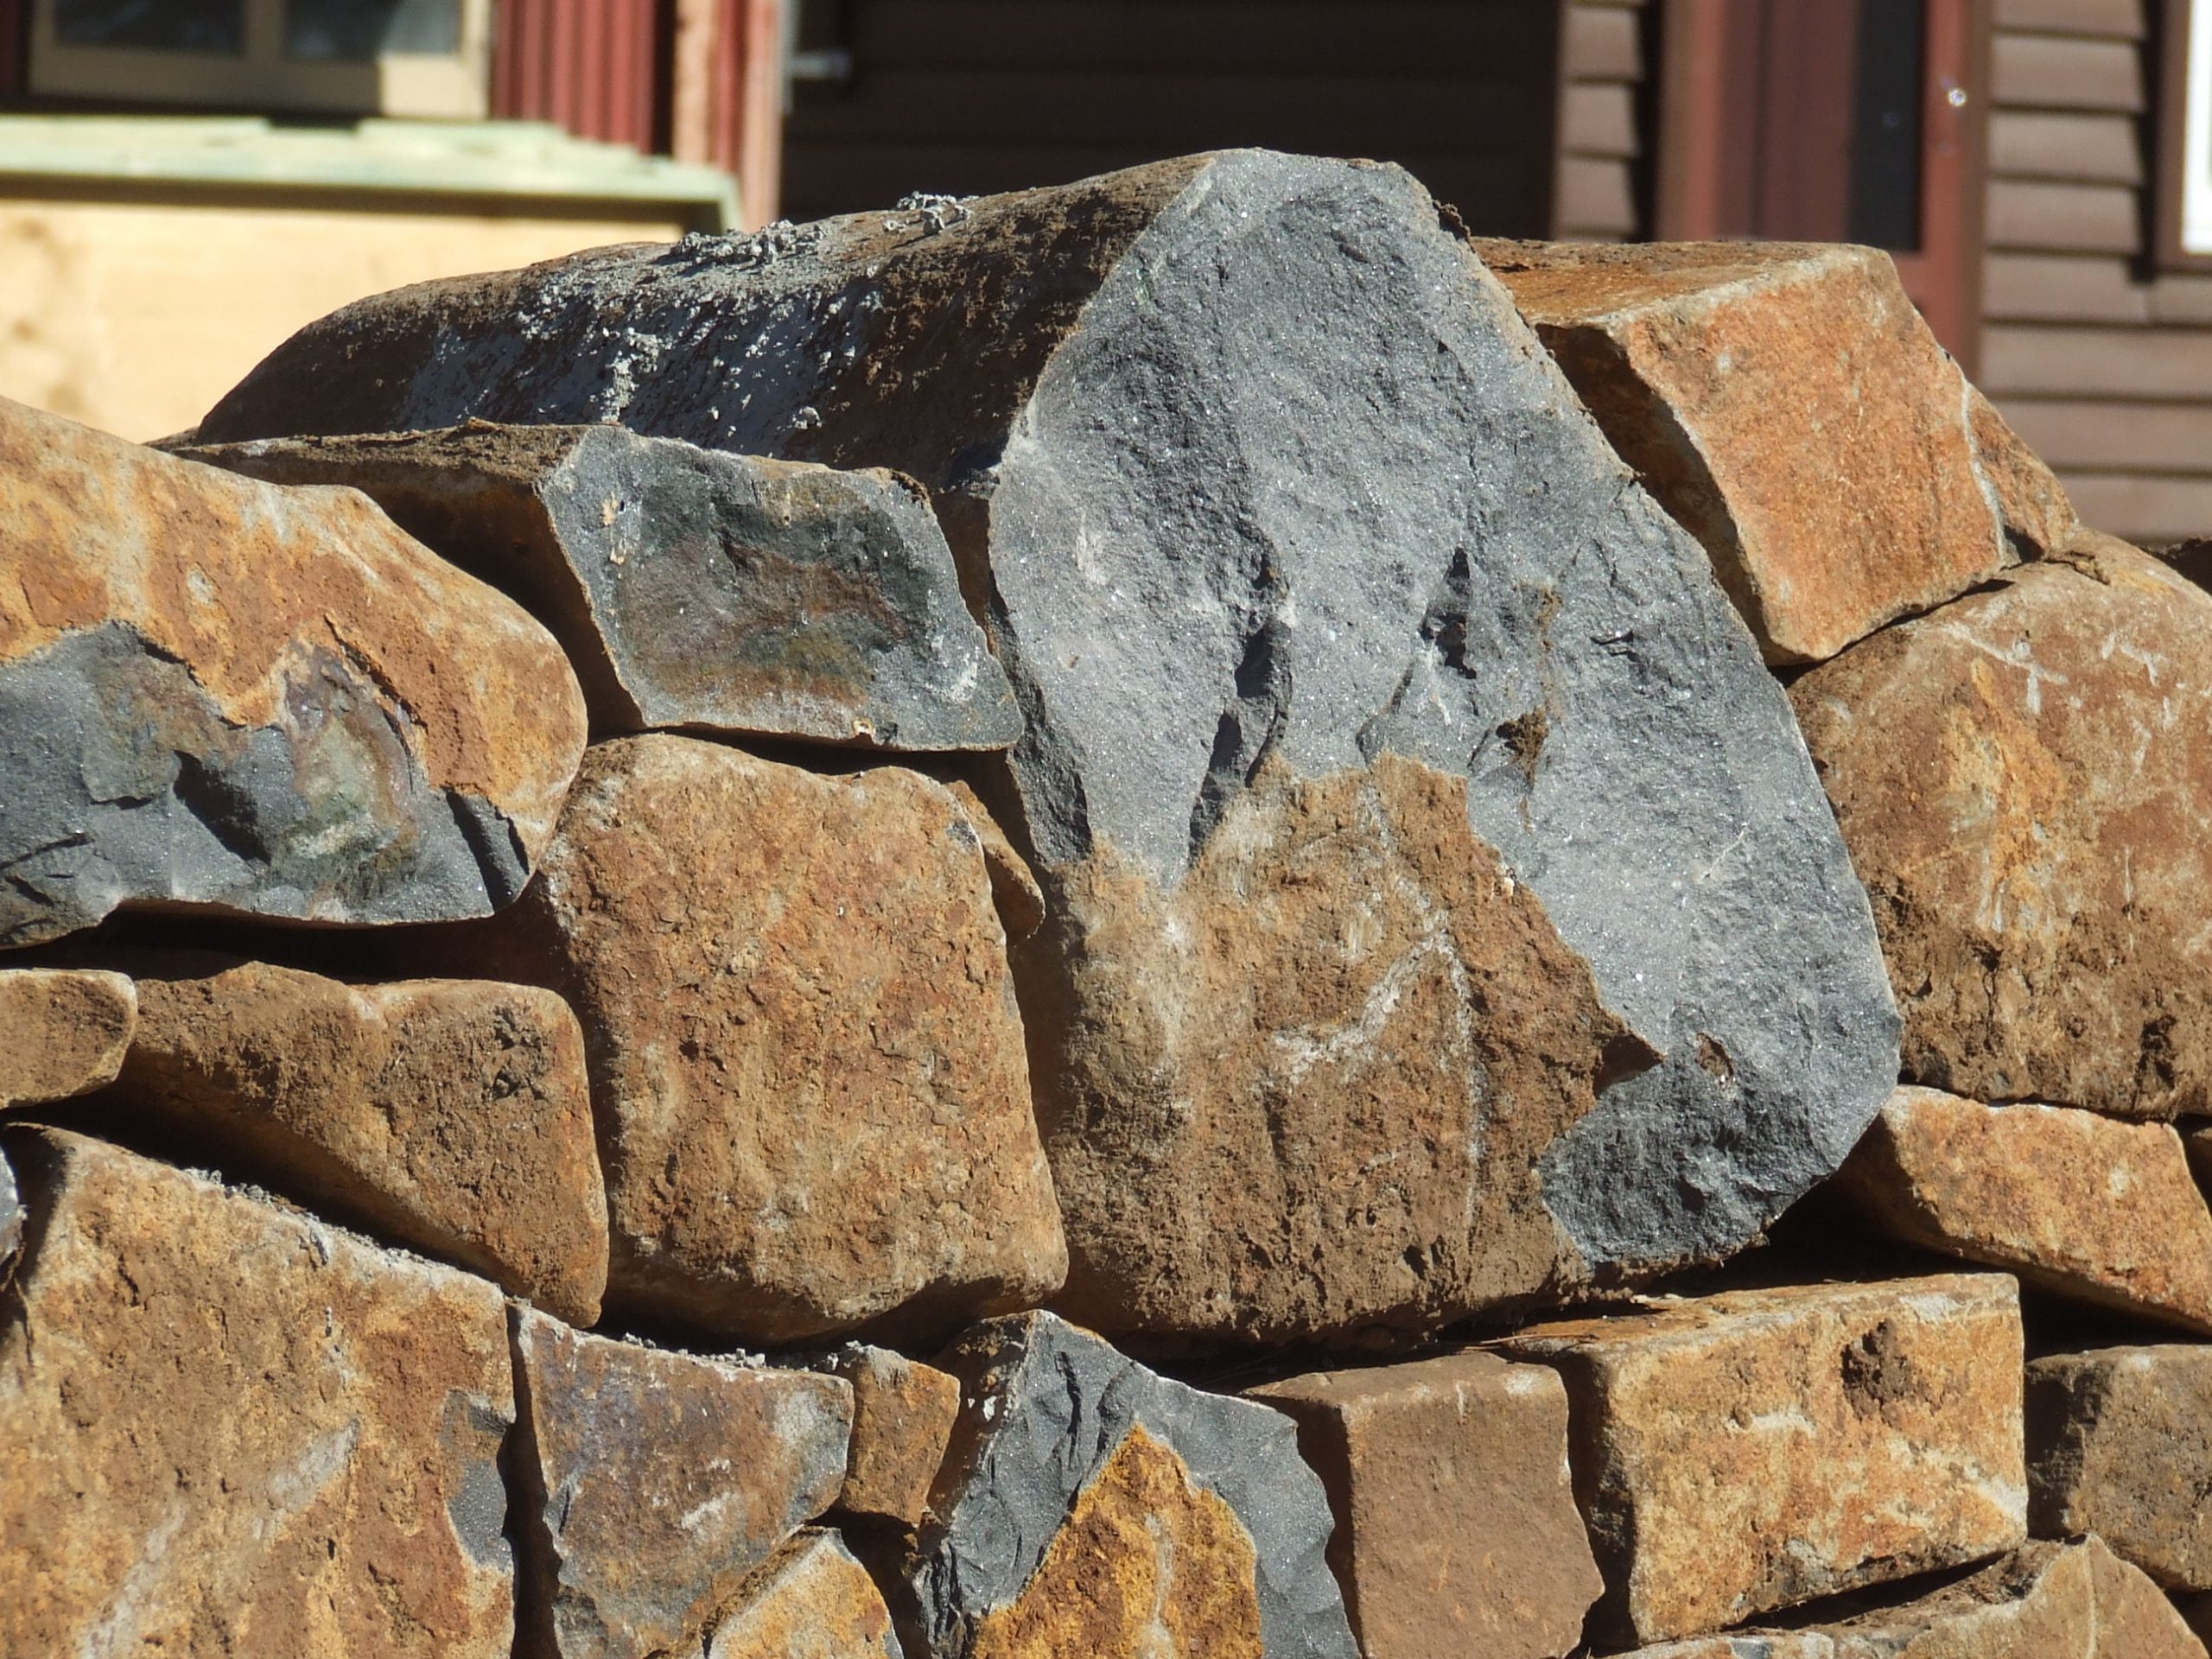
To start Basalt is a wonderful natural stone to work with, durable with stark natural contrasting beauty. If you are still weighing up the best stone to work with, you might like to read, Top 10 Reasons to Build Basalt Stone Walls
In part 3 of the series we will cover laying the foundation for your Basalt Stone Wall.
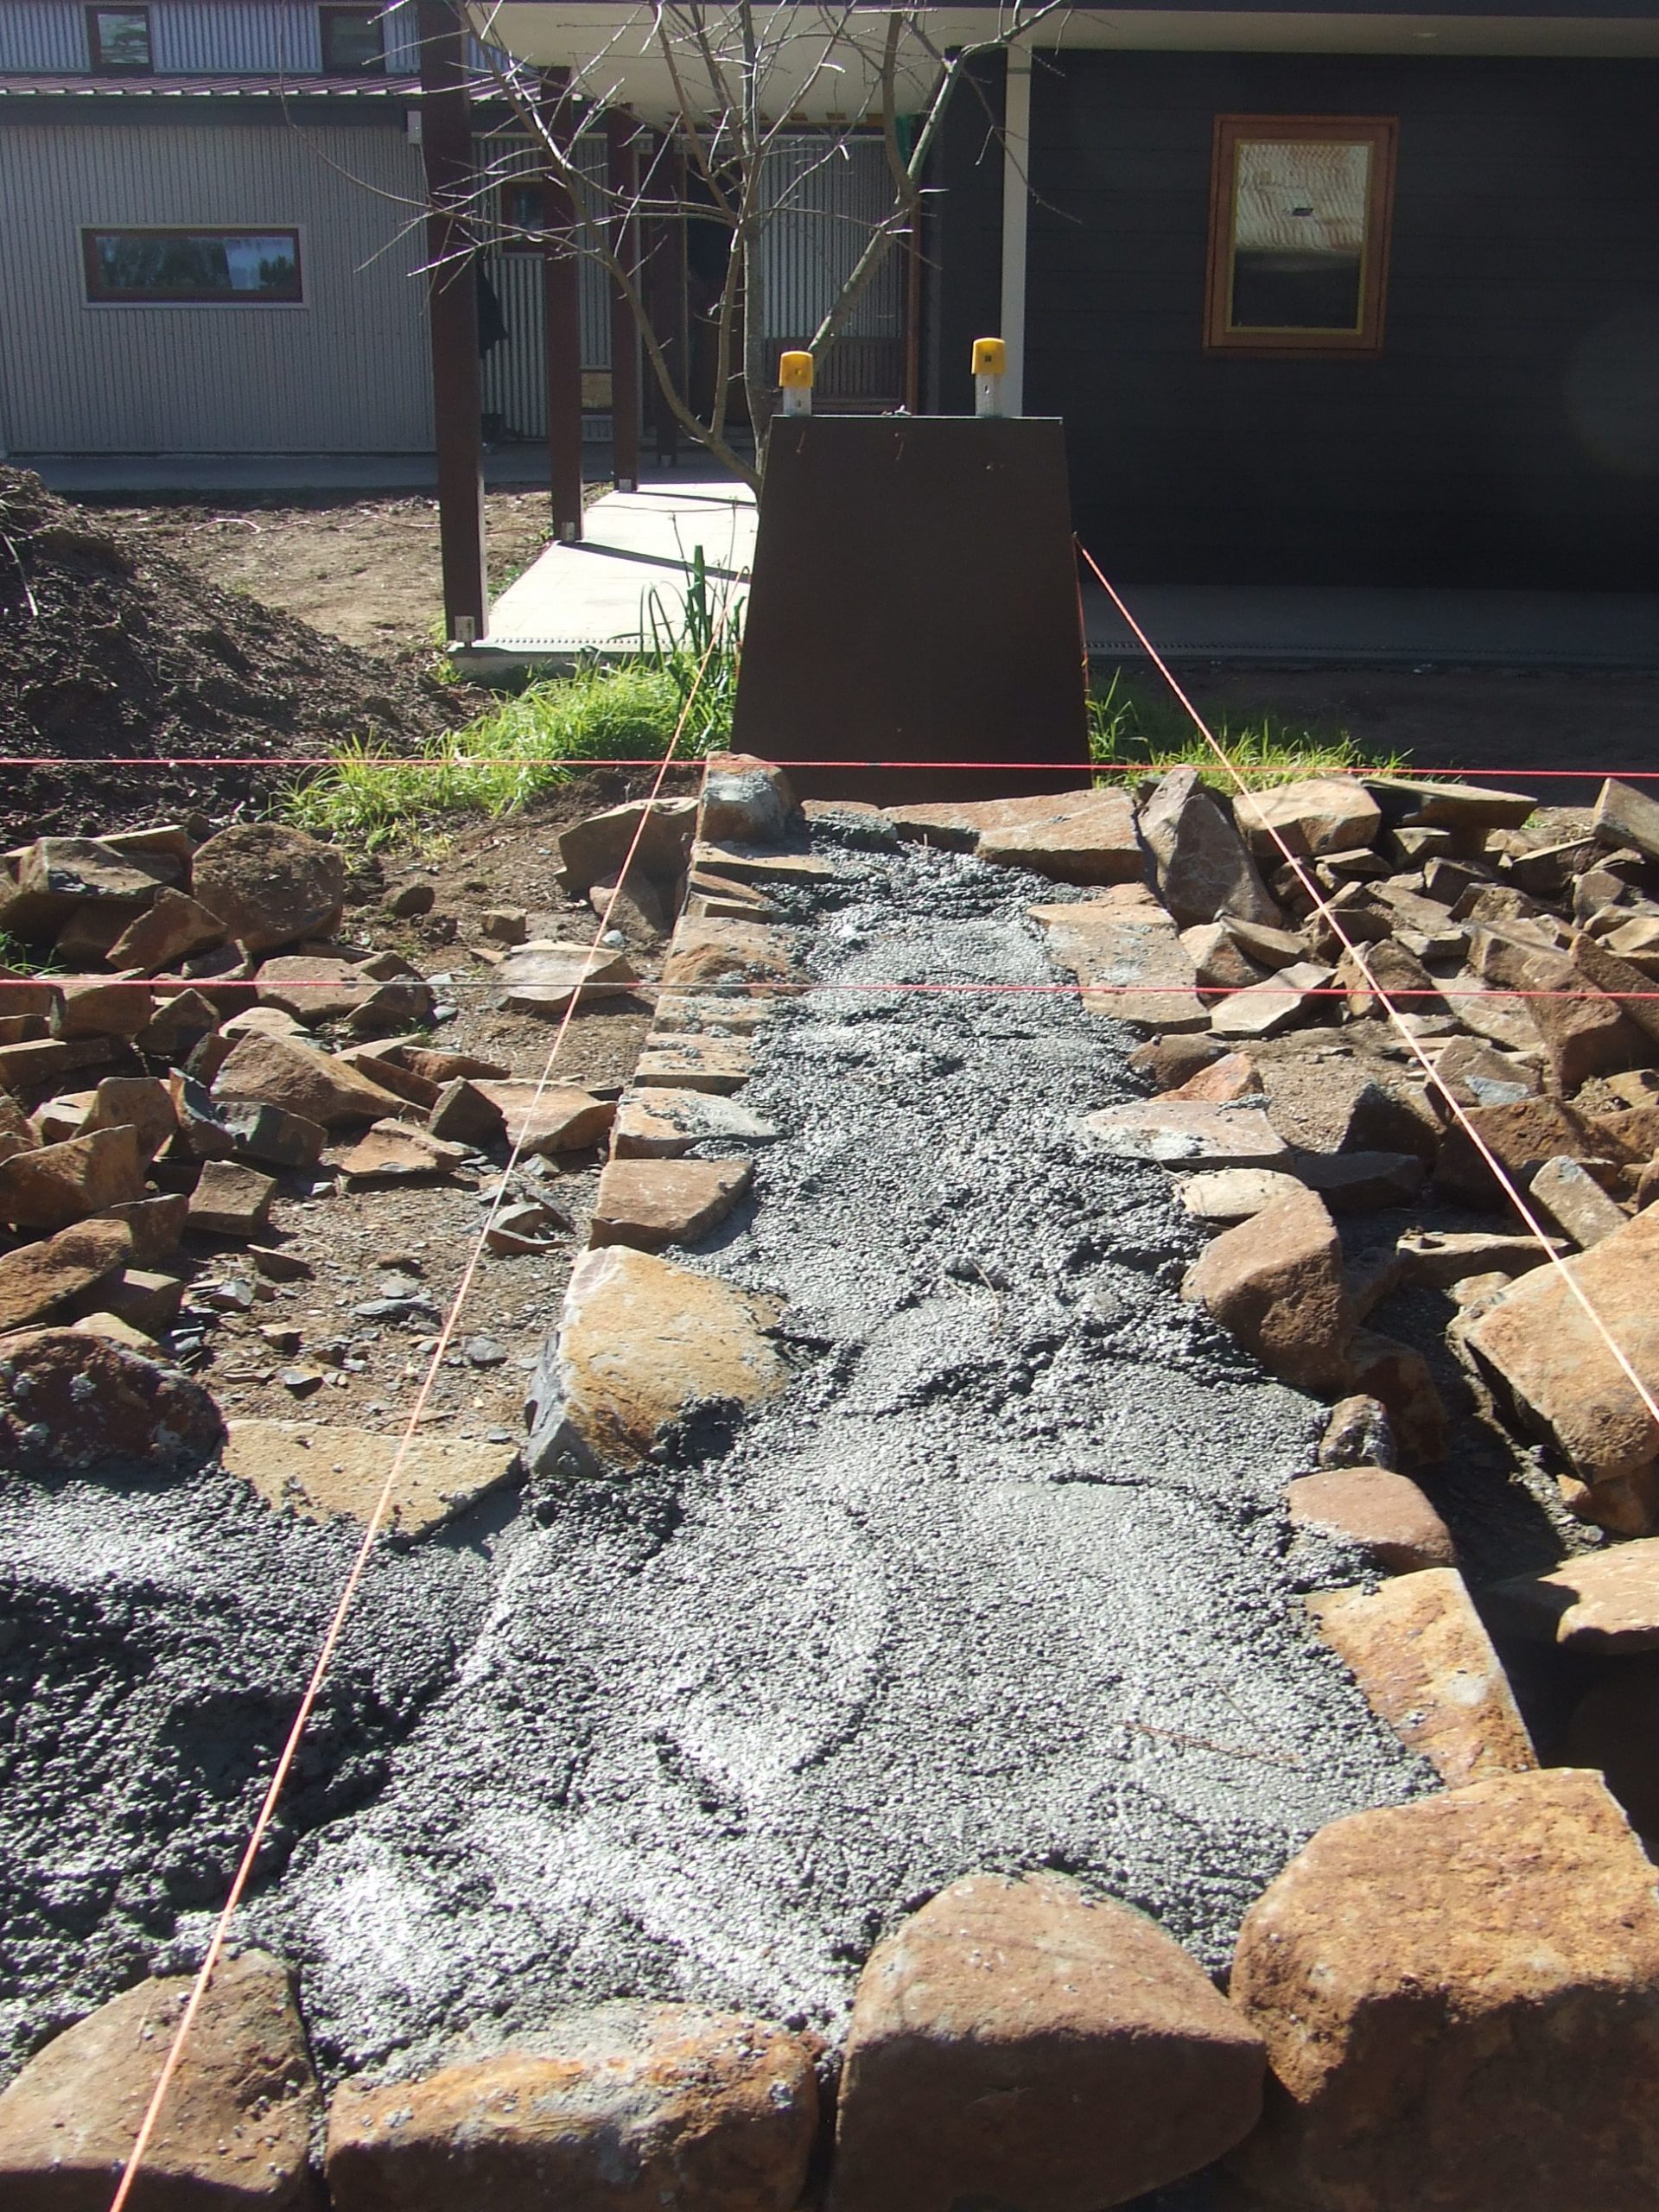
Summary: Excavate the bottom of your trench to a minimum of 8 inches. This creates a base under ground level to anchor the wall and prevent excessive movement over time. Then carefully select the material that will hold the base layer to allow enough drainage.
DIY overview of the steps required to build a Basalt Stone Wall
Addendum: Secrets to Building a Retaining Wall
Tools & Equipment Required
Warning
Walls higher than 3 foot will need a professional’s expertise for overall safety.
Tips
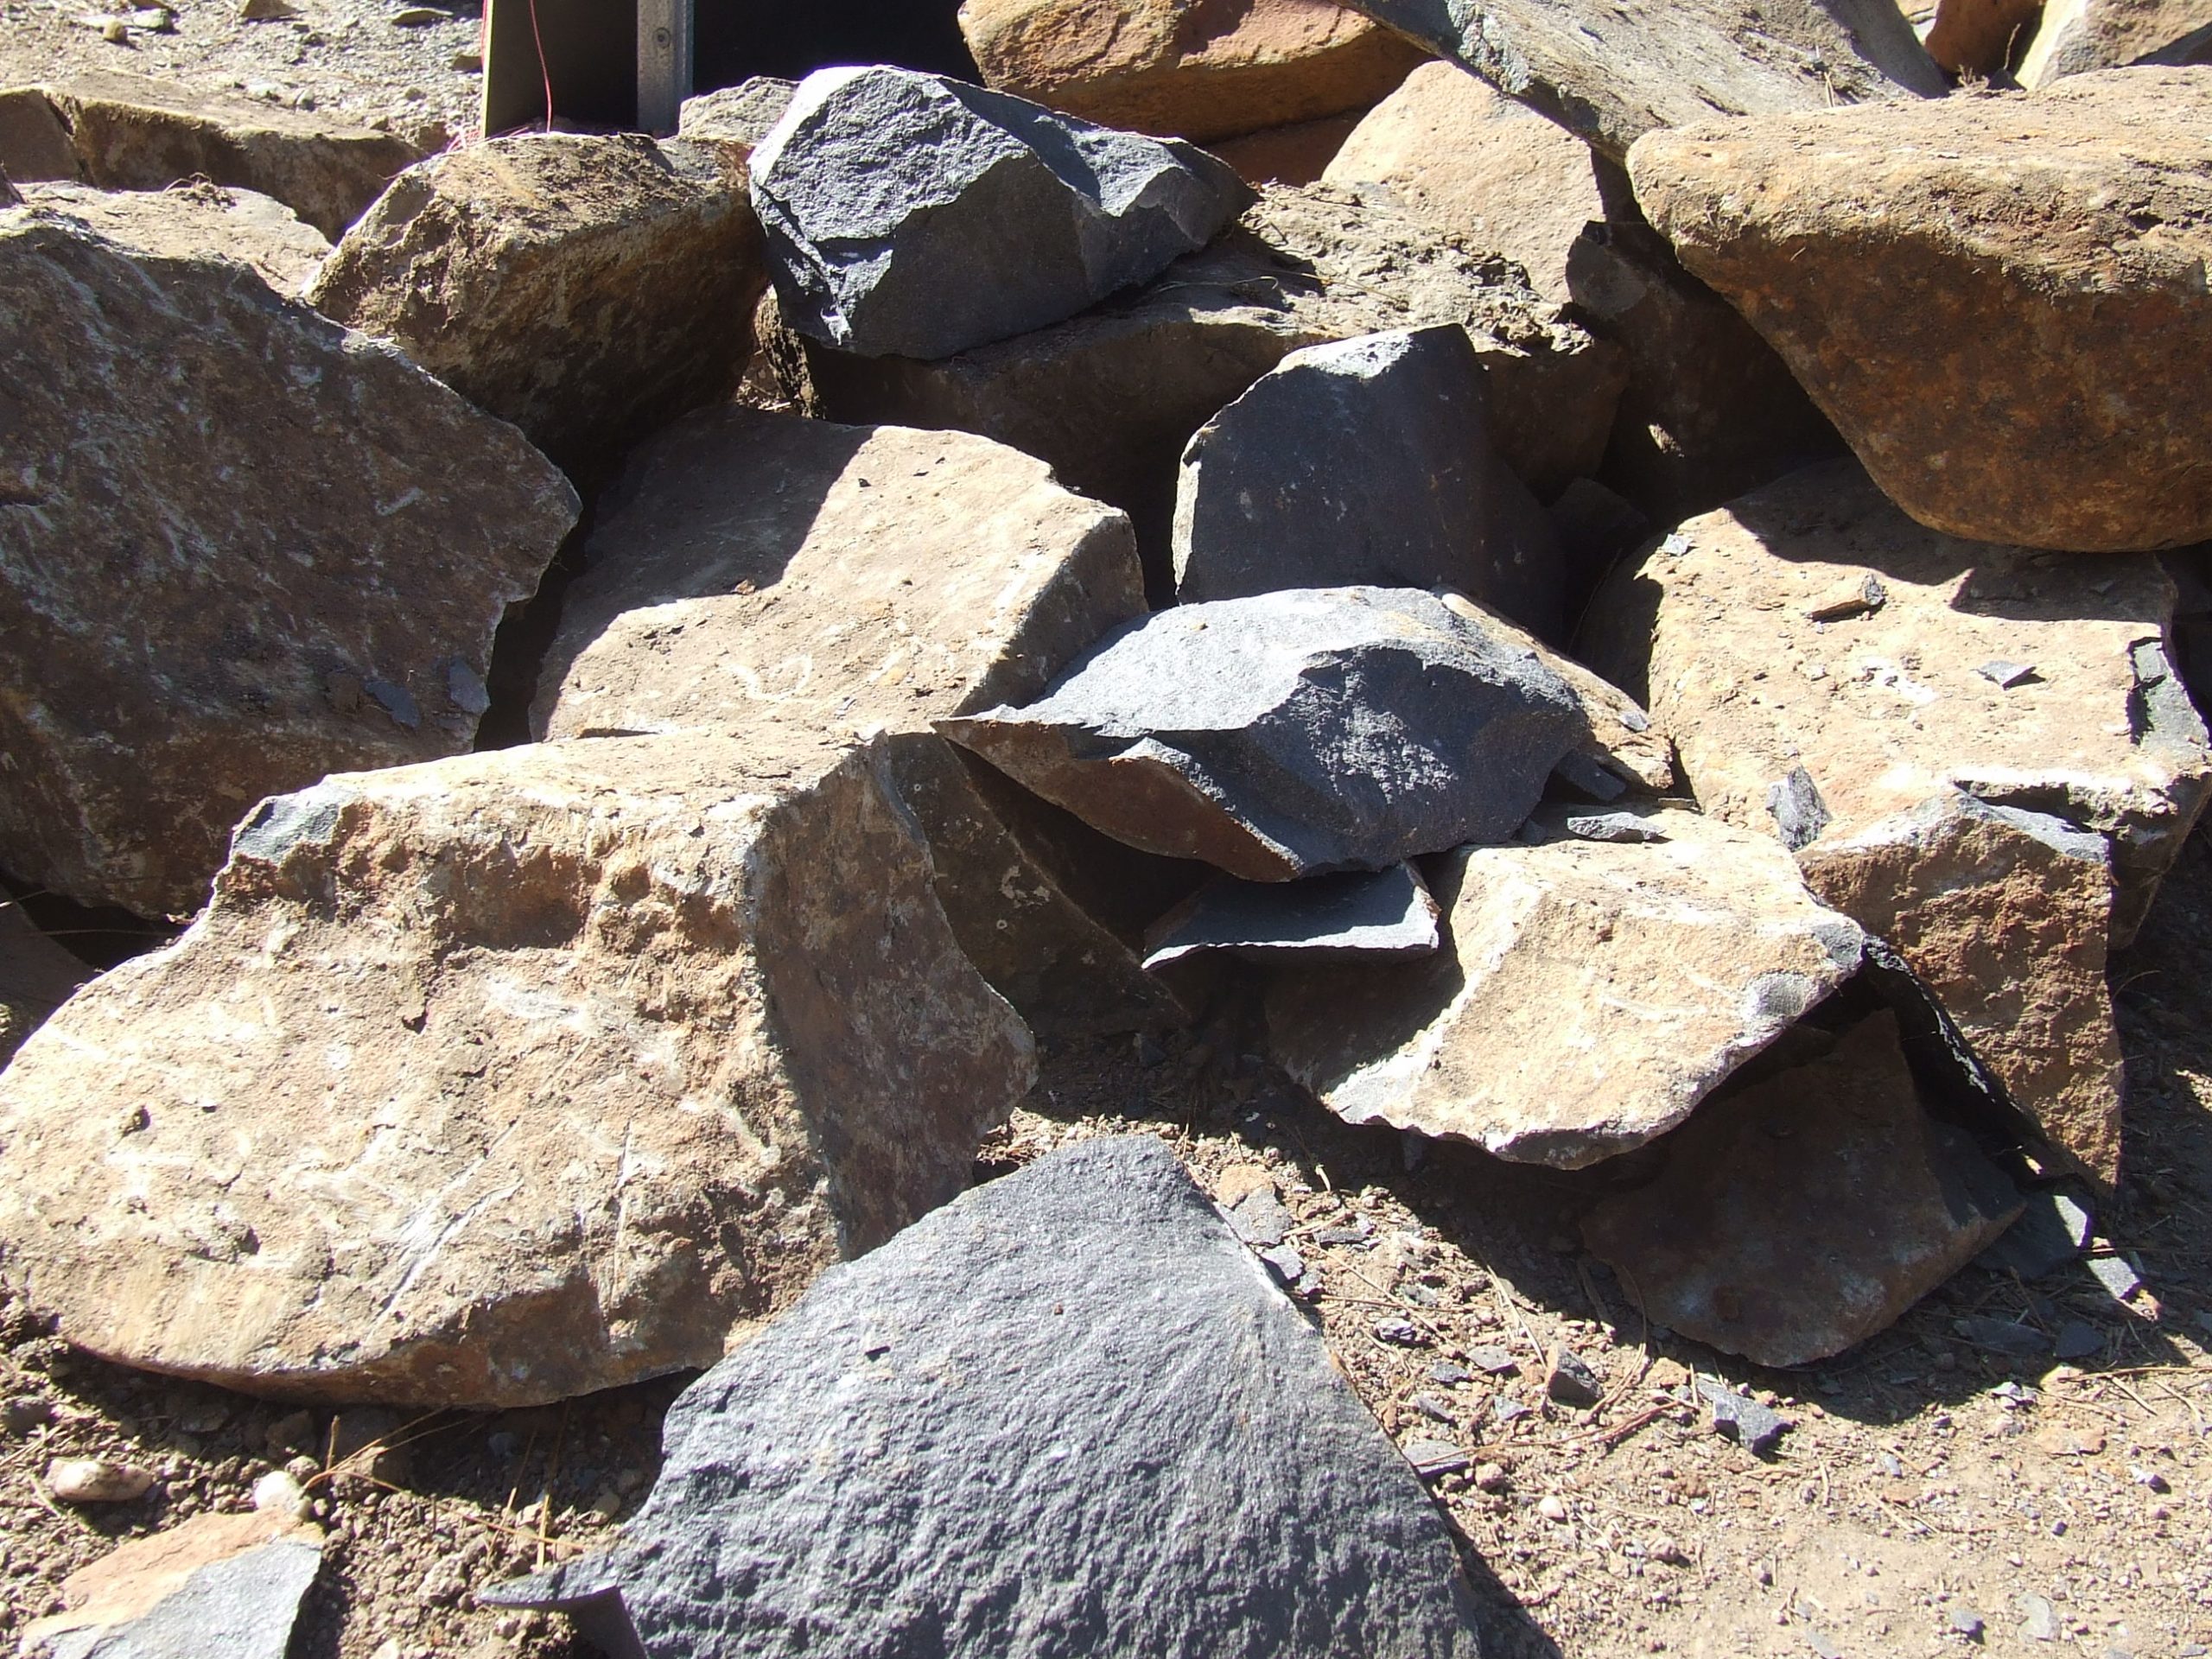
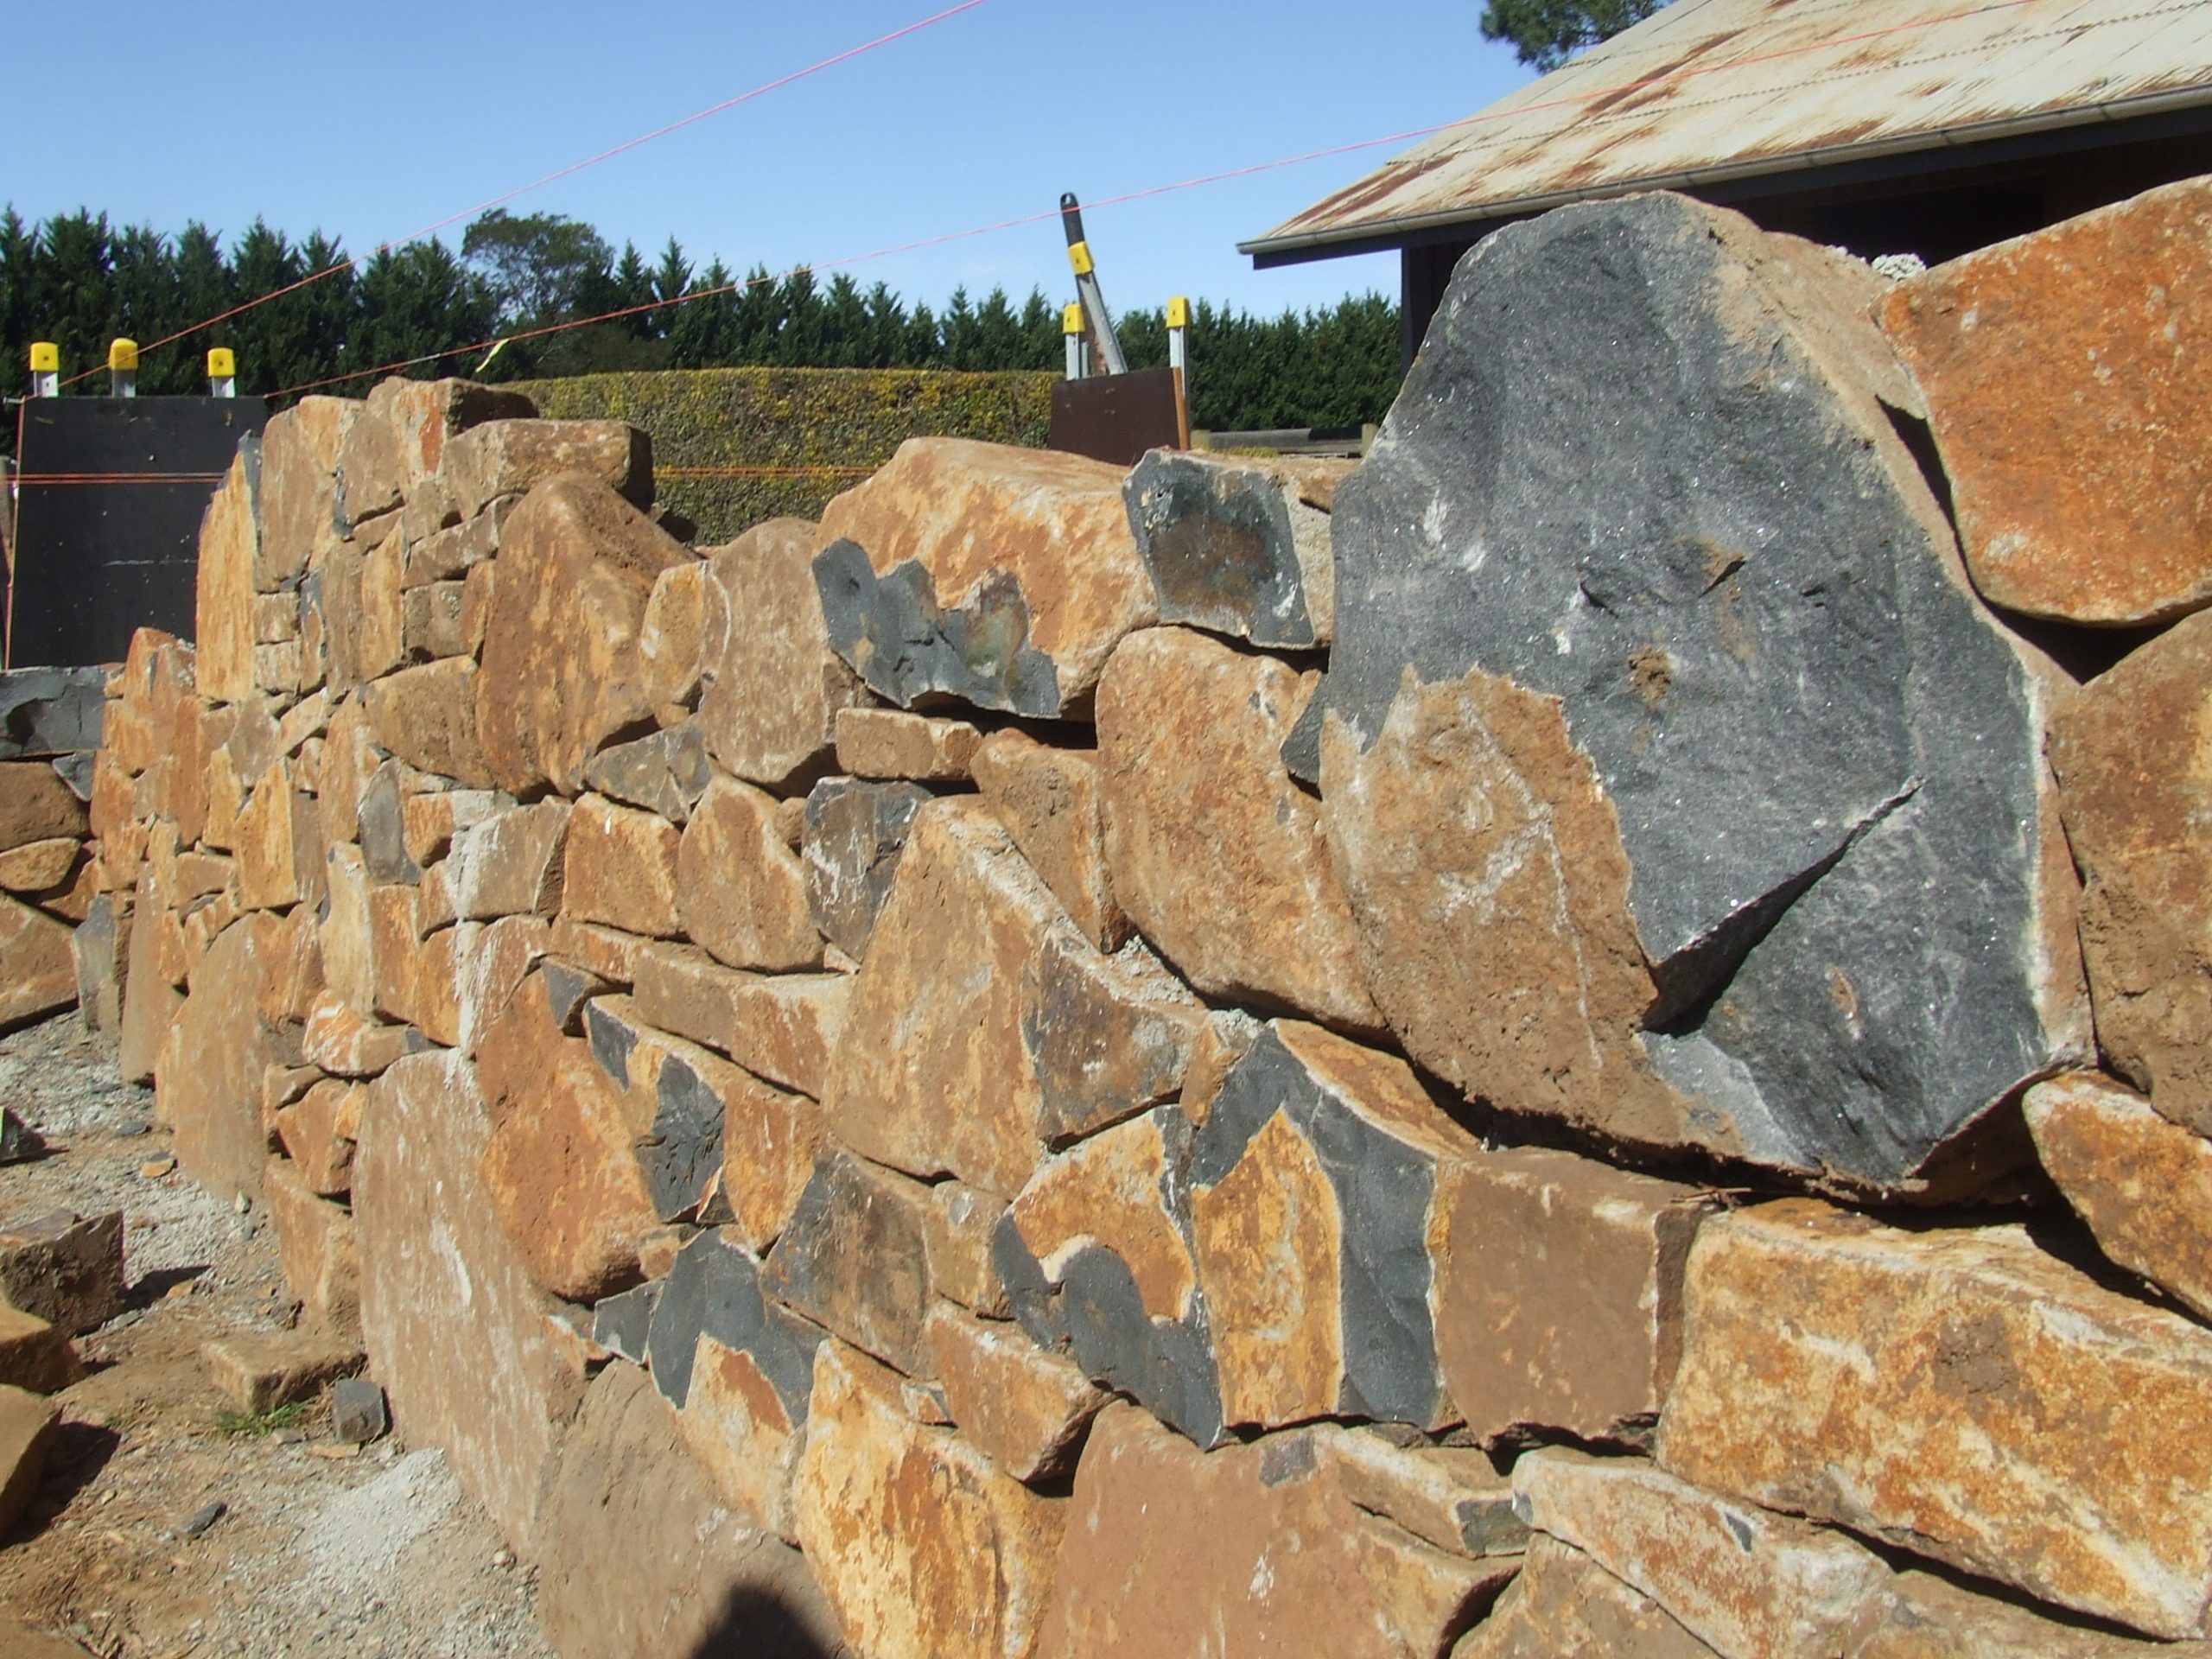
Always avoid the use of small rocks at the wall base. Try using the biggest basalt stones you have as the base and the progressively medium sized and smaller rocks as you work upward. It’s important to build a strong heavy foundation which will make the wall strong and uniquely decorative as your work higher.
Dig the Foundation
Mark the area where your wall’s base will be, ( refer to part 2 – Plan Your Build ) then begin excavating the trench to a minimum depth of 8 inches, preferably a foot. Take care to ensure the surface is even along the entire trench. You want the foundation stones to be able to lay flat and not angled
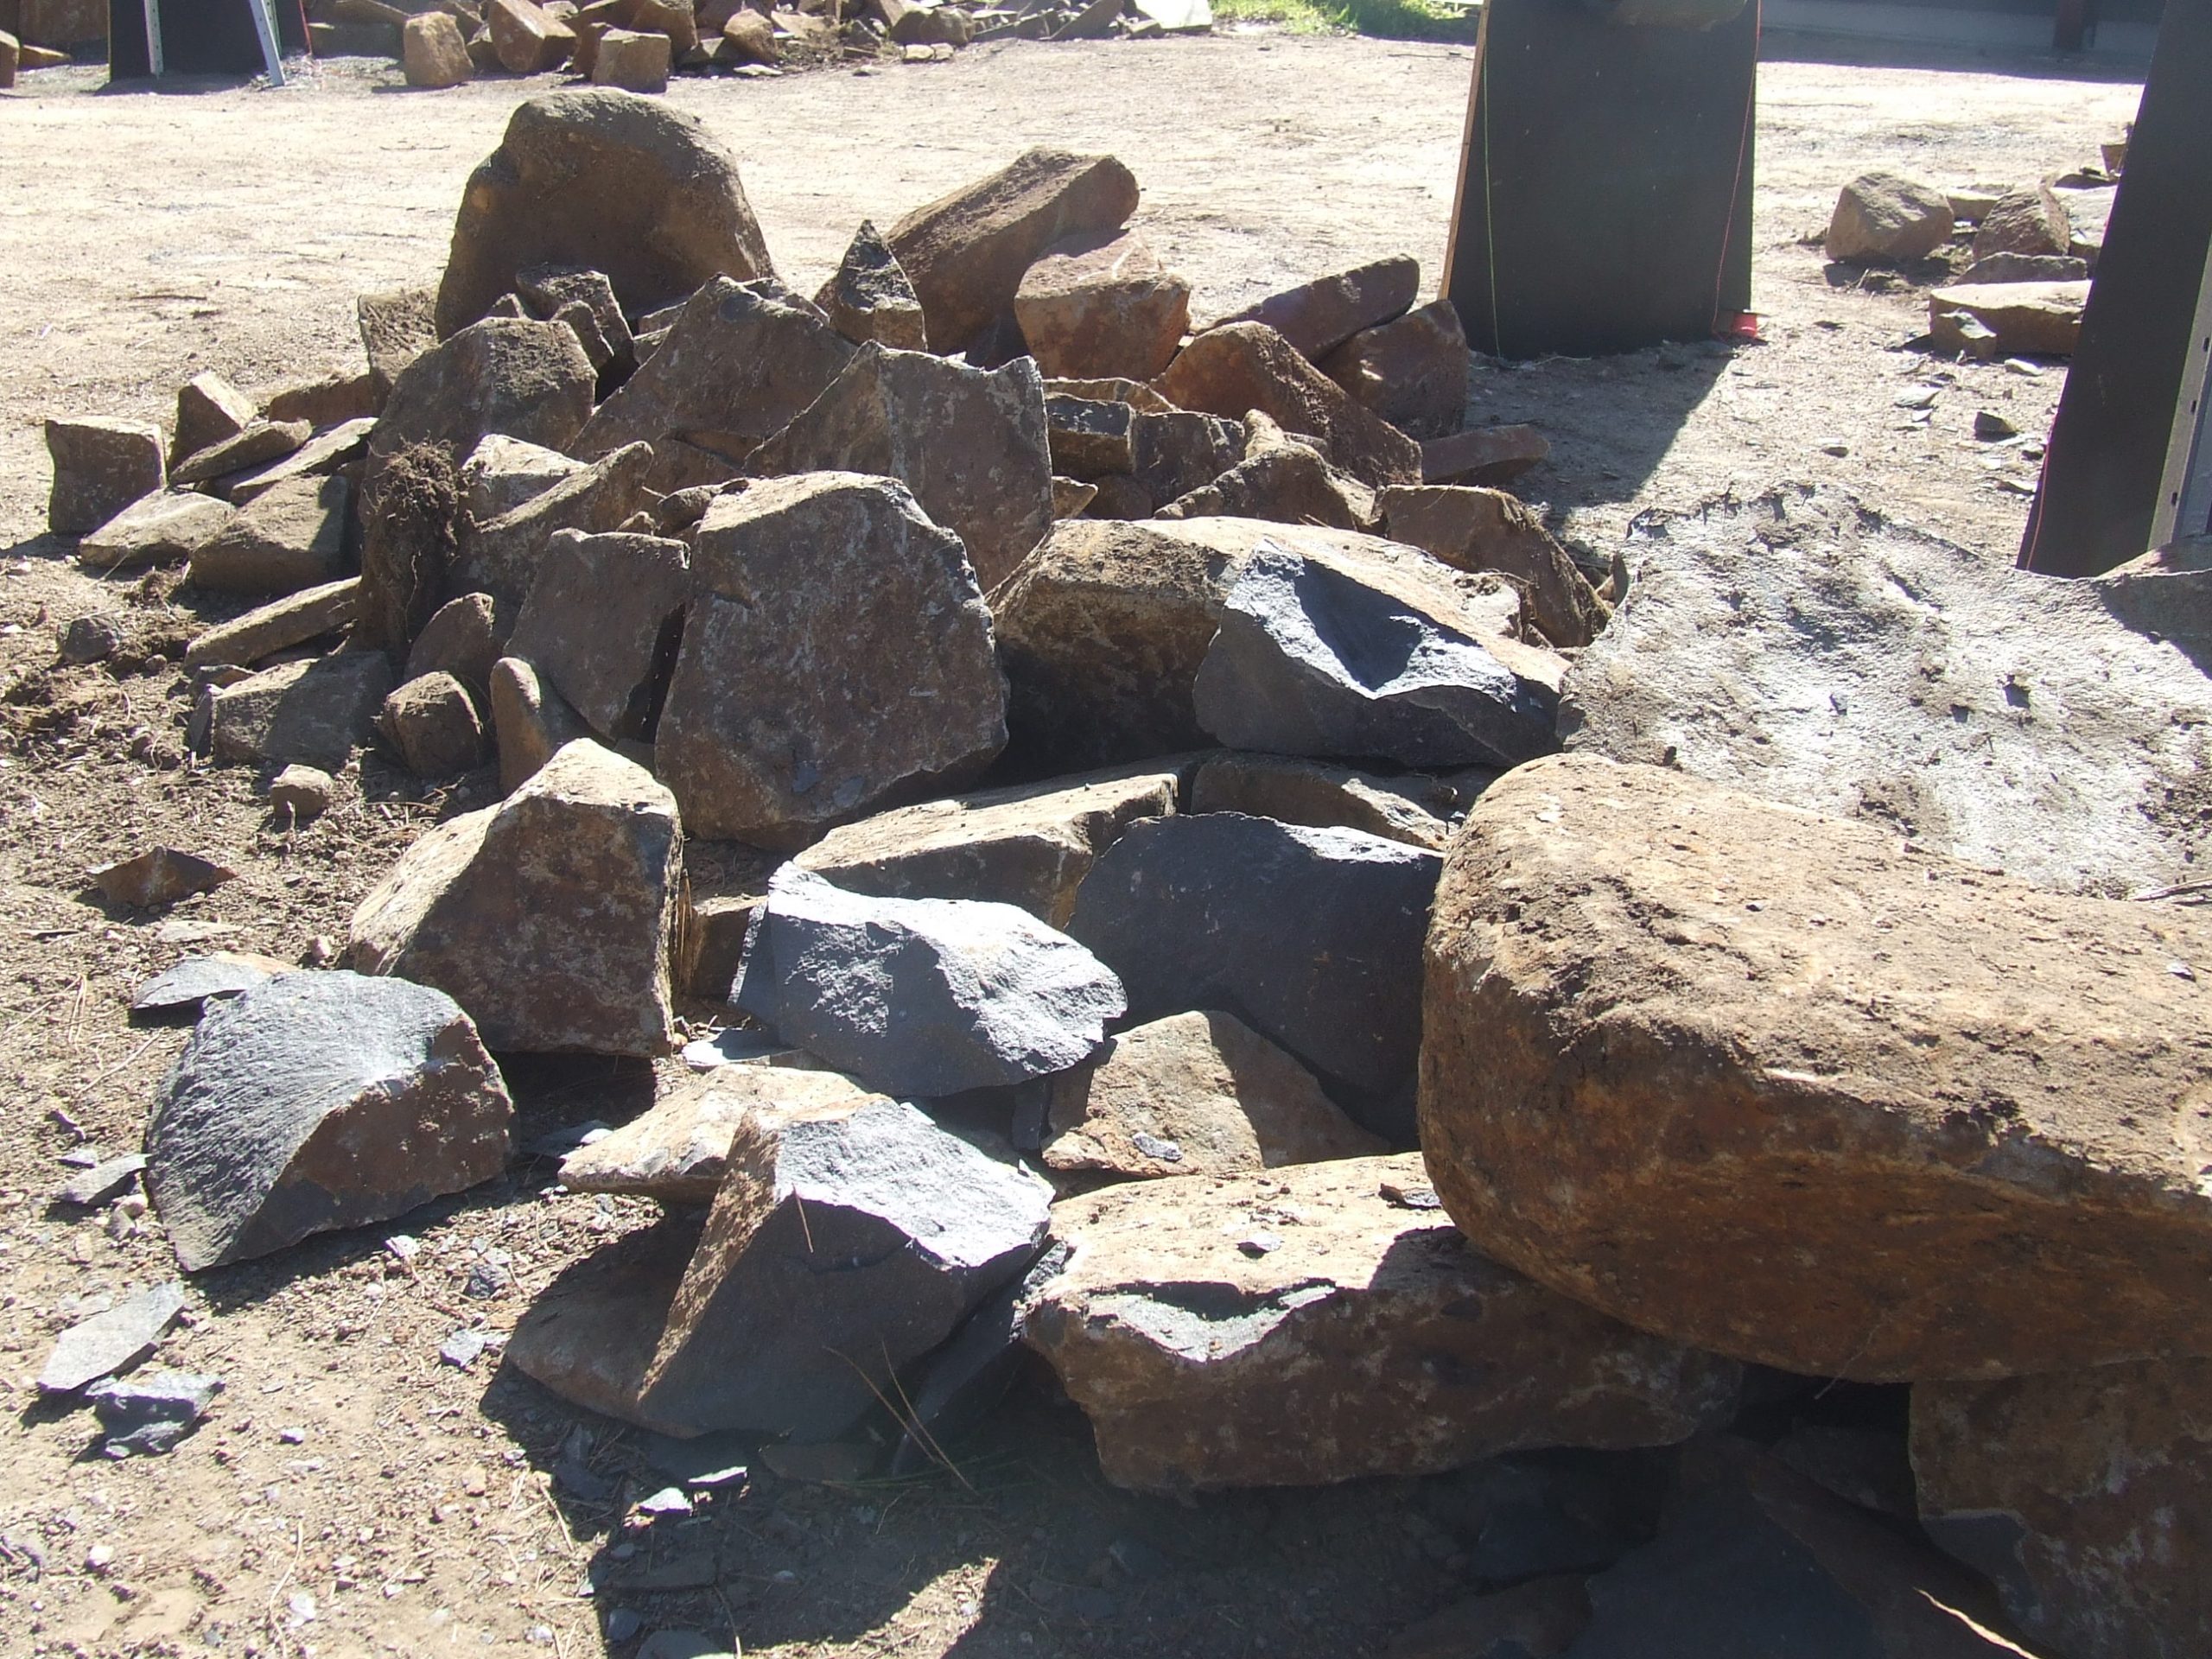
Choose the Foundation Material
Now consider the sort of material will form the base layer, we recommend gravel although materials can be used. Depending on the area, you may find either regular ground soil, clay soil, or gravel. You may also choose to dig deeper and fill the foundation up to the desired level with one of these materials.
Gravel
Gravel is the best material for water drainage and the protection of your walls foundation, preventing excessive movement of the wall over time. Once filled the gravel should be compacted to create a flat even surface along the trench. With your gravel base compacted, and potential wet spots taken care of, you’re ready to start laying your base rocks.
Other options:
Clay
Clay will not drain internally. It will need to be either sloped away from the face of your wall so it can drain freely, or sloped to the right or left along the face of your wall so that it may drain past one end. I wouldn’t recommend clay, although building a drain on the high side to allow run off can mitigate the amount of water coming in contact with the wall and foundations.
Soil
Earth and other materials are not the most desirable bases on which to build large stone applications. The problem with material that is not clean is that it creates a false base over your problem area by floating on top of existing materials and sealing them off. Clean material, applied in thin layers and compacted in stages, will be absorbed into the existing materials which lie underneath, adding to their ability to perform as an appropriate base.
Click on an image to enlarge:
Factors to consider:
You have to keep in mind that the weight of your wall will be forcing down on its base, so laying the foundation is crucial. The choice of dry stacking or the concrete method will have a large impact on drainage to the base foundation, so you may like to re-visit part 1 – Part 1 – Dry Stack or Concrete?
A word of caution:
In review, if you’re planning a DIY Basalt Stone Wall build remember to plan carefully and carefully consider the method to laying the foundation.
You can learn more about basalt by following these links.
Is basalt a good building material? – https://smarter-building-systems.com/smarter-building-basalt-faqs/
What is basalt link – https://en.wikipedia.org/wiki/Basalt
You may also be interested in – Sandstone Log Walls
Natural stone and rock can be used for a variety of flexible ways on your property, including:
Call Josh to discuss your landscaping project and learn more about sandstone walls – 0408 476 766
You may also be interested to learn about the Top 10 Reasons to build Basalt Stone Walls
We service a wide range of areas including Narellan, Leppington, Harrington Park, Oran Park, Gledswood Hills, Smeaton Grange, Mount Annan, Menangle Park, Tahmoor, Bowral, Exeter, Sutton Forrest, Bundanoon, Robertson, Marulan, Renwick, Braemar, Liverpool Area, Camden, Campbelltown, Wollondilly, Wingercaribee, Southern Highlands
More info:
(Note: The link below is a beginners guide only and may not stand the test of time. A commercially built wall will last for centuries!)
How to Build a very basic Basalt Stone Wall
#Basalt Stone Wall #Bowral #Southern Highlands
Website designed & built by HighlandCreative.com.au